A bathroom refresh doesn’t have to drain your savings to make a dramatic impact. If you’re searching for practical, stylish ways to achieve a budget bathroom makeover, you’re likely looking for ideas that balance affordability with real visual transformation. This article is designed to do exactly that—show you how to upgrade your space with smart planning, cost-effective materials, and design choices that look high-end without the high-end price tag.
From modern décor swaps and clever storage solutions to DIY-friendly improvements that deliver instant results, we’ll walk you through options that maximize every dollar. We’ve carefully analyzed current home design trends, renovation best practices, and proven remodeling strategies to ensure the guidance here is both stylish and practical.
Whether you’re updating a small guest bath or refreshing your primary bathroom, you’ll find clear, actionable steps to create a cleaner, brighter, and more functional space—without overspending.
Surface-Level Magic: Paint, Peel, and Stick Solutions
For more clever tips that can elevate your space without breaking the bank, check out our article on ‘Home Hacks Decoradtech‘ for innovative ideas to transform your home with style and efficiency.
A bathroom doesn’t need a gut renovation to feel new. Sometimes, it just needs the clean scent of fresh paint and the soft glow of light bouncing off smooth walls.
The Power of Paint
A moisture-resistant, satin-finish paint is the quiet hero of any budget bathroom makeover. Satin reflects just enough light to make walls feel silky and bright without glaring. Light, cool tones—think misty blue or pale sage—trick the eye into seeing more space (color theory at work). According to Sherwin-Williams, lighter hues can make small rooms feel larger and cleaner. Roll it on, and you’ll hear that gentle whisper of the roller, see dull walls turn luminous in a single afternoon.
Flooring on a Dime
Luxury vinyl tile (LVT) or peel-and-stick tiles feel slightly cushioned under bare feet and resist splashes with ease. They click or press into place over existing floors, saving time and demolition dust.
- Water-resistant and durable
- Available in faux marble, warm oak, or bold geometric prints
Backsplash and Accent Walls
Waterproof peel-and-stick tiles add a glossy, high-end shimmer behind the sink. Smooth them on, press out the air bubbles, and watch the room transform—no grout haze, no heavy tools, just instant polish.
Hardware Harmony: Upgrading Fixtures for a Luxe Feel
Faucets, Showerheads, and First Impressions
Start with what you touch every day. A dated faucet can make the entire sink area feel tired, even if everything else is spotless. Swap it for a modern silhouette in matte black, brushed gold, or polished chrome. These finishes instantly signal “updated” (think less 1998 hotel bathroom, more boutique staycation).
Next, upgrade your showerhead. Look for a WaterSense-labeled model, which uses at least 20% less water without sacrificing pressure (EPA). Installation usually takes under 30 minutes: unscrew the old head, apply plumber’s tape, and twist on the new one. You’ll lower utility bills and improve your daily routine—win-win.
Lighting Is Everything
Then, tackle lighting. Replace that outdated “Hollywood” vanity strip with a streamlined fixture or two vertical sconces for balanced facial lighting. Choose warm white LED bulbs (2700K–3000K) for a flattering glow and up to 75% energy savings compared to incandescent bulbs (U.S. Department of Energy).
Layer the light: overhead for general brightness, vanity for tasks, and maybe a small accent light for ambiance. It’s a small shift that makes mornings smoother.
The Small Details Matter
Finally, unify your hardware. Match cabinet pulls, towel bars, and the toilet paper holder in the same finish. This cohesive approach pulls everything together visually. For a budget bathroom makeover, consistency beats extravagance every time. (Pro tip: bring one old knob to the store to match sizing and avoid extra drill holes.)
Maximize Your Space: Smart and Stylish Storage Hacks
Clutter sneaks up fast—especially in bathrooms where every square inch counts. So instead of cramming more bins under the sink, let’s think smarter.
1. Go Vertical
First, use the wall space most people ignore. Install floating shelves above the toilet for rolled towels or minimal décor. In tight layouts, a slim vertical cabinet (often less than 8 inches deep) can slide between fixtures and instantly add concealed storage. According to the National Association of Home Builders, strategic vertical storage is one of the top small-bath upgrades buyers notice. In other words, height is your hidden asset.
2. Vanity Victory
Next, skip the full replacement. Painting your existing vanity and swapping dated hardware can dramatically shift the look (brushed brass, anyone?). Add pull-out organizers or drawer dividers to double usable space. This approach costs far less than new cabinetry yet delivers similar function—a true budget bathroom makeover move.
3. Medicine Cabinet Refresh
Finally, frame your existing mirror with trim for a built-in effect. Or, if space allows, replace a bulky surface-mounted unit with a recessed cabinet for a cleaner profile.
And if you’re upgrading floors too, check out this beginners guide to laying laminate flooring for a cohesive refresh that ties everything together.
Renew and Revive: Refinishing Instead of Replacing
When your bathroom looks dated, the big question is simple: refinish or replace? Tearing everything out feels dramatic (hello, renovation reality shows), but refinishing often wins on cost, speed, and sanity.
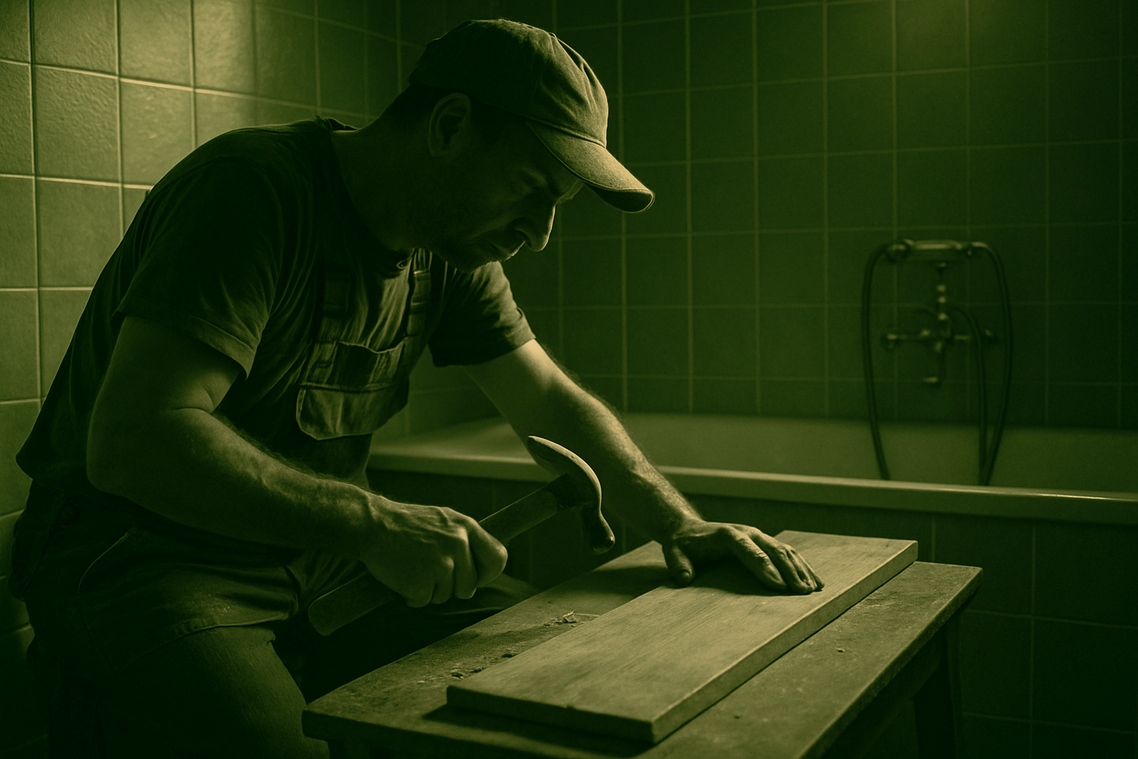
Tub and Tile Transformation
Replacement means demolition, plumbing adjustments, and thousands of dollars. By contrast, DIY epoxy refinishing kits resurface bathtubs, sinks, and tile surrounds for a fraction of the price. Epoxy is a durable resin coating that bonds to existing surfaces, covering stains, chips, and avocado-green relics from decades past. According to HomeAdvisor, bathtub refinishing can cost up to 75% less than replacement. The trade-off? Prep work must be meticulous. Pro tip: ventilation and thorough sanding make or break the finish.
Grout Grooming
Old grout vs refreshed grout is night and day. Instead of retiling, deep-clean and reseal. For stubborn discoloration, a grout pen or grout stain adds a uniform, bright layer. It’s the visual equivalent of whitening your smile.
The Crispness of Caulk
Finally, compare dingy, cracked caulk with a smooth new bead. Fresh caulk signals cleanliness and care. Small swap, big payoff—perfect for a budget bathroom makeover.
Ready to Transform Your Space?
You started this guide looking for a clear, practical way to pull off a budget bathroom makeover without overspending or sacrificing style. Now you know it’s possible to refresh your space with smart upgrades, thoughtful design choices, and a few strategic DIY improvements.
The truth is, living with an outdated or inefficient bathroom is frustrating. It affects your daily routine, your comfort, and even how you feel about your home. The good news? You don’t need a massive renovation budget to fix it—you just need the right plan and the confidence to take action.
Here’s what to do next: choose one upgrade from this guide and start today. Whether it’s updating fixtures, improving lighting, or adding modern décor touches, small changes create real impact.
If you want step-by-step guidance, proven tips, and smart living ideas trusted by thousands of homeowners, explore our expert home improvement resources now. Get the inspiration and clarity you need—and finally create a bathroom that feels fresh, functional, and entirely yours.
 As the primary technical strategist for Ththomable, Chasevsic Rieder focuses on the intersection of smart technology and domestic efficiency. He is responsible for demystifying complex home automation systems and providing the DIY improvement tips that allow users to modernize their infrastructure without unnecessary stress. Chasevsic’s expertise ensures that "smart living" is accessible and reliable, offering a tactical approach to home fundamentals that prioritizes performance and long-term optimization. His work empowers the community to build smarter, more responsive homes through precise, expert-backed guidance.