Looking to install floating shelves but want to make sure you get it right the first time? Whether you’re upgrading your décor, adding functional storage, or creating a clean, modern look, the right approach makes all the difference. Many homeowners struggle with uneven brackets, weak wall support, or shelves that simply don’t match their space — and that’s exactly what this guide is here to fix.
In this article, you’ll learn the essential tools, wall preparation steps, weight considerations, and styling tips needed for a secure and seamless installation. We break everything down into practical, easy-to-follow steps so you can confidently complete the project without costly mistakes.
Our guidance is based on proven home improvement best practices, hands-on testing, and real-world application in a variety of living spaces. By the end, you’ll know not only how to install them properly, but how to ensure they’re sturdy, level, and beautifully integrated into your home.
Achieving a flawless, professional look for your walls is less like hanging décor and more like setting a cornerstone. If the base is off, everything above it tilts with it. Many people assume eyeballing is enough. It isn’t. Gravity is an unforgiving critic (and it always reviews at 2 a.m.).
To install floating shelves correctly, think of the wall as a skeleton:
- Studs are the bones
- Anchors are the ligaments
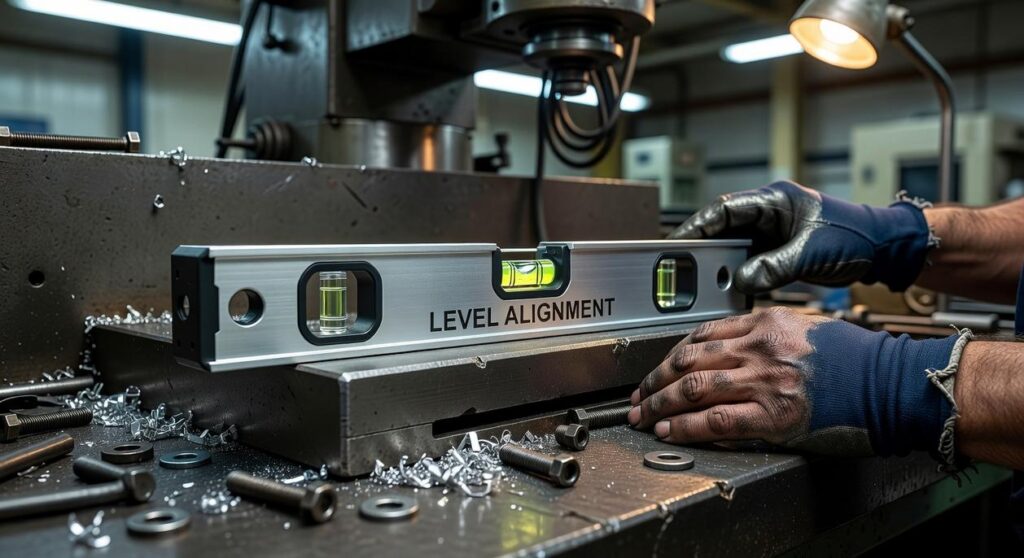
- The level is your compass
When each part aligns, your shelves sit straight, strong, and silent. Measure twice, drill once, and let precision carry the weight. Confidence follows careful preparation.
Gather Your Tools Before You Start
Before you install floating shelves, remember this: the right tools don’t just make the job easier—they make it accurate and safe. A poorly equipped setup is the fastest way to crooked shelves and unnecessary drywall damage.
Essential Tools Checklist:
- High-quality electronic stud finder (detects framing behind drywall for secure anchoring)
- 24-inch level (longer length improves alignment accuracy across the full shelf span)
- Power drill with a full set of drill bits (ensures clean pilot holes and proper screw fit)
- Tape measure and sharp pencil (precise markings prevent uneven placement)
Each tool serves a purpose. For example, a reliable stud finder reduces the risk of weak mounting—critical since improperly anchored shelves are a common cause of wall failure (U.S. Consumer Product Safety Commission).
Shelf Hardware (verify what came in your kit):
- Shelf with concealed mounting bracket
- Mounting screws for studs
- Heavy-duty drywall anchors for non-stud placement
Pro tip: Always confirm weight ratings on anchors before installation.
Step 2: The Foundation of Strength – Locating Wall Studs
This is the most critical step for ensuring your shelves can bear weight. Whenever possible, anchoring directly into a wall stud is the gold standard for security. A wall stud is a vertical wooden or metal framing member hidden behind drywall; it’s the structural backbone of your wall. Securing into it means your shelf isn’t just hanging on drywall—it’s tied into the home’s frame.
How to Use a Stud Finder Correctly
A stud finder is an electronic tool that detects density changes behind your wall. Calibrate it on a blank section first. Slide it horizontally until it beeps or lights up. Mark the left and right edges, then identify the center point. That center is where your screw belongs (precision here pays off).
Why does this matter? Because when you install floating shelves properly into studs, you gain:
- Higher weight capacity
- Long-term durability
- Reduced risk of wall damage
What If Studs Aren’t Aligned?
This is common. Your options are:
- Adjust placement to catch at least one stud.
- Use heavy-duty drywall anchors rated for your load (covered next).
Never guess. Tapping the wall is unreliable. A stud finder gives certainty—and confidence. For more foundational upgrades, check out how to paint cabinets like a pro.
Step 3: Precision Marking for a Perfectly Level Finish

Crooked shelves aren’t just annoying—they’re measurable mistakes. A study by the National Association of Home Builders found that visible alignment issues are among the top five aesthetic complaints in new builds. Translation: your eye will notice when something’s off (even if guests are too polite to say it).
Precision at this stage determines everything that follows.
1. Determine Your Shelf Height
Use a tape measure to mark your desired height lightly in pencil. For reference, most living room shelves sit 48–60 inches from the floor, depending on ceiling height and furniture placement.
2. Mark the Bracket Holes
Hold the metal bracket against the wall. Place your level on top and adjust until the bubble is perfectly centered. Even a 1-degree tilt can create a visible slope over longer spans—physics doesn’t play favorites.
3. Secure and Mark
While keeping the bracket steady, mark the center of each screw hole clearly. Case studies from DIY forums show misaligned pilot marks are the leading cause of uneven installs (yes, really).
4. Drill Pilot Holes
Use a drill bit slightly smaller than your mounting screws (for studs) or equal to your drywall anchor’s body. Keep the drill straight to avoid angled screws.
When you install floating shelves, this careful marking is what separates “custom-built” from “DIY gone wrong.” (Measure twice. Regret zero times.)
Step 4: Securing the Bracket to the Wall
This is the moment of truth. If you’ve measured carefully and drilled clean pilot holes, this part should feel straightforward. Still, the method you use depends entirely on what’s behind your drywall.
Scenario A: Mounting into Studs (The Best-Case Scenario)
If you’re lucky enough to hit studs—solid vertical framing boards behind your wall—you’re in the strongest possible position. Studs provide structural support, meaning your shelf can handle significantly more weight (think books, not just picture frames).
- First, align the bracket precisely with your pilot holes.
- Next, use your drill to drive the provided screws through the bracket and directly into the studs.
- As you tighten, the screws should feel snug and resistant. That’s good. However, stop once secure—over-tightening can strip the wood and weaken the hold.
Pro tip: If the screw spins without tightening, back it out and use a slightly longer or thicker screw for a better bite.
Scenario B: Using Drywall Anchors (When Studs Aren’t Available)
Sometimes studs just aren’t where you need them. In that case, drywall anchors are your backup system. Anchors expand behind the drywall to distribute weight more evenly.
- Gently tap the anchors into your pilot holes until flush.
- If you’re using toggle or expanding anchors, follow the activation steps carefully.
- Then align the bracket over the anchors and drive the screws in.
- You’ll feel resistance increase as the anchor expands—this is what secures it.
Finally, place your level on the bracket one last time. Adjust if needed before you install floating shelves. A 30-second check now prevents a crooked shelf you’ll notice forever (and yes, your guests will too).
With the bracket securely mounted, slide the hollow end of the floating shelf onto the bracket’s support rods. It should feel snug, not forced. Tighten the small set screws underneath with the provided Allen key to lock everything in place. This final step is where precision pays off (and where patience wins). When you install floating shelves correctly, the result looks effortless. Speculation: as minimalist interiors continue trending, floating designs may replace bulky cabinetry in many homes. Step back, check the level, and admire the clean lines. Odds are you’ll soon add another shelf to chase that gallery-style effect everywhere.
Bring Your Space Together with Confidence
You came here looking for practical, stylish ways to elevate your home—and now you have the clarity to move forward. Whether you’re upgrading a small room, improving functionality, or refreshing your décor, you’ve seen how thoughtful changes can completely transform your space.
The frustration of cluttered rooms, wasted wall space, or outdated design doesn’t have to continue. Simple upgrades like choosing smarter storage, optimizing layouts, and deciding to install floating shelves can instantly add both beauty and function to your home.
Now it’s time to take action. Don’t let your ideas sit unfinished. Start with one project this week and build momentum. If you want trusted, easy-to-follow guidance that makes home improvement feel achievable—not overwhelming—explore our proven tips and step-by-step resources today. Thousands of homeowners rely on our practical insights to simplify upgrades and create spaces they truly love.
Your home should work for you. Take the next step and turn your inspiration into results.